Company Website:
www.RevelationConcept.com
Presentation Slides:
www.RevelationConcept.com/presentations
Twitter:
@RevConcept

A long title for a simple concept: let’s start creating great user experiences for our clients…on the backend!

You know nothing about WordPress
Step one to becoming a WordPress Wizard — utilize magic.

Step two to becoming a WordPress Wizard — utilize more powerful magic.
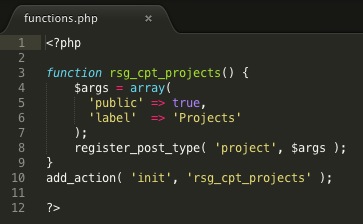
Add these lines of code to your functions.php file — or better yet — to a functionality plugin.

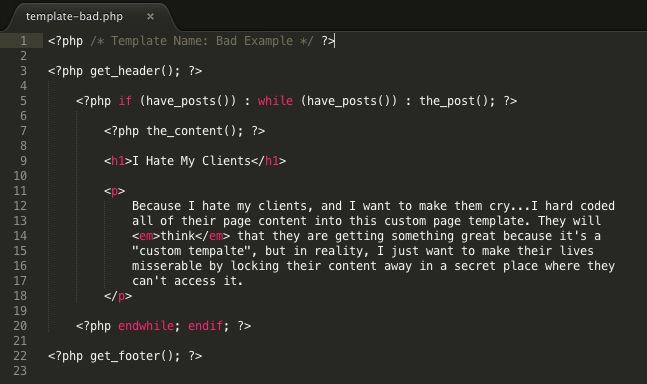
Tailoring post and page displays to fit client content.

Making your clients the kings of their content.
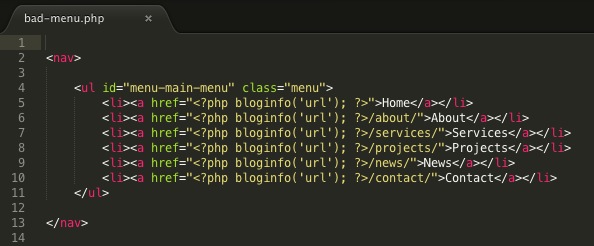
Don’t hard-code your client’s menus into the theme where they can’t access them…it’s mean.
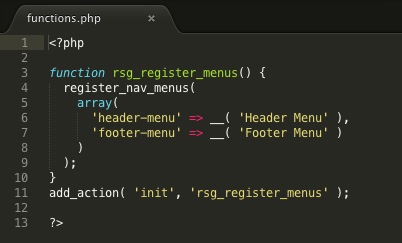
Add these lines of code to your functions.php file — or better yet — to a functionality plugin.
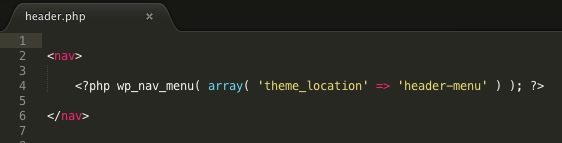
Add these lines of code to your header.php file if you are setting up the main site menu — or to any other theme file where you want your custom menus to appear.
Now, your clients can control their menu items, menu order and menu labels!*

Protect your clients and yourself by considering a few extra steps.
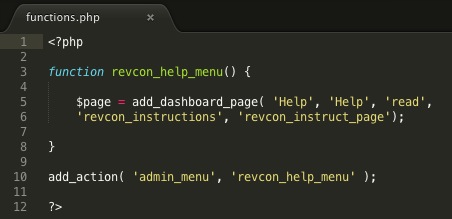
($page_title, $menu_title, $capability, $menu_slug, $function)
Add these lines of code to your functions.php file — or better yet — to your own admin plugin.

Add these lines of code to your functions.php file — or better yet — to your own admin plugin.

Using portability to protect your client’s future.
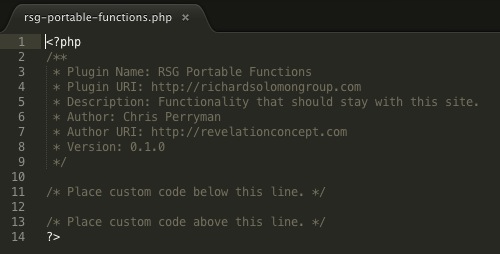
That’s it! Add your functions to the plugin and save it in your plugin directory:
/wp-content/plugins/rsg-portable-functions.php